Setting baseline result
Methods for defining a test result as the baseline.
Ensure that TestArchitect is running and connected to the repository that contains the test results you want to set as a baseline (see Adding test results manually).
Choose one of the following three methods to designate a test result as the baseline:
Option 1:
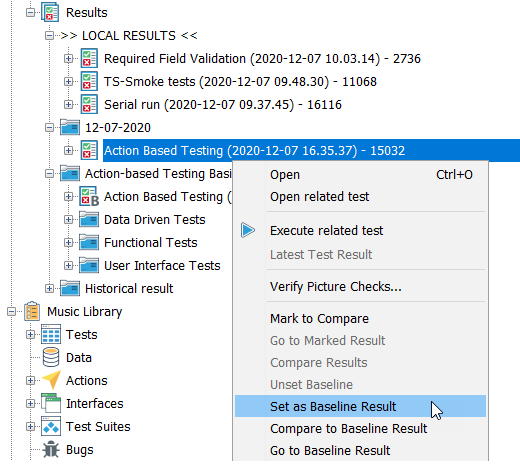
Select the test result node you want to set as the baseline in the TestArchitect explorer tree, and right-click the selection.
Click Set as Baseline Result from the context menu.

Option 2:
On the TestArchitect explorer tree, double-click the test result node you want to set as the baseline.
Click the Set as Baseline Result
 icon on the main panel.
Option 3:
Open the repository test result list view, that is, Double-click the Results node on the TestArchitect explorer tree.
The repository test result list view appears in the main panel.
Select the test result you want to set as the baseline in the test result list view, and then right-click the selection.
Click Set as Baseline Result from the context menu.
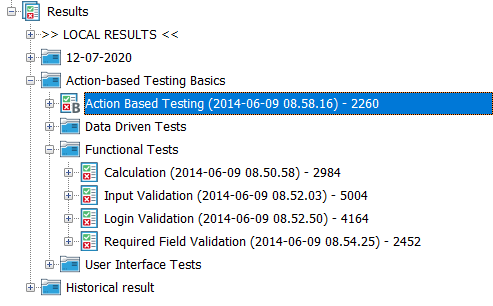
The icon for the test result that has been set as the baseline now has a B overlaid on it, indicating that it is indeed now the baseline. If there was a previous baseline for the test module/test module variation, it now loses its designation. You can proceed to compare other test results in the same test module or the same test module variation, against the new baseline results (see Comparing results with baseline).
Related tasks
Comparing results with baseline
Comparing results without baseline
