Test cases
Test cases are used to arrange the contents of a test module into logical divisions.
In the test editor, you can add a new test case to a test module by doing of one of the following in the row in which you would like the new test case header to appear:
- Type test case in first column;
- Right-click anywhere in the row and then select Test case > Insert Test Case;
- Select any cell in the row and then press Ctrl + T on your keyboard;
- Select any cell in the row and then click the Create new test case
 button on the toolbar.
The Create new test case  toolbar button may also be used when the active tab is not a test module:
- In the TestArchitect explorer tree, focus on a project or its subnodes.
- Click the Create new test case
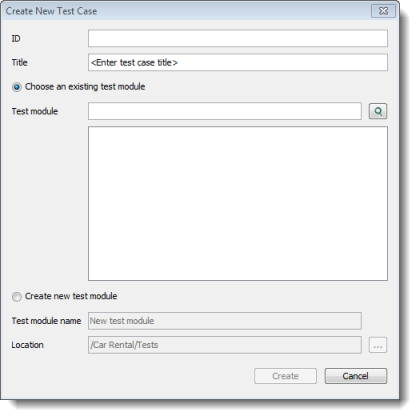
 button on the toolbar. The Create new test case dialog box appears for you to select an existing test module or create a new one.
TestArchitect recognizes all listed methods of creating new test cases and applies the appropriate formatting.
The test case header line has two arguments:
- test case id. This must be unique within the test module, (but not necessarily unique outside of the test module).
- A descriptive title of the test case.
Newly-created test cases are not immediately visible in the TestArchitect explorer tree, and are similarly not visible to all users. They only appear on the tree, for you and for all users of the repository, when you check in the test module.
When you check in a test module, if the limit number of created tests cases is exceeded under your specific TestArchitect license, you will receive the following message:
The allowed number of created test cases has been reached under your license. However, you are still able to run automated tests with TestArchitect. To resolve this issue, please contact TestArchitect Support at support@logigear.com to upgrade your TestArchitect license to a higher tier.
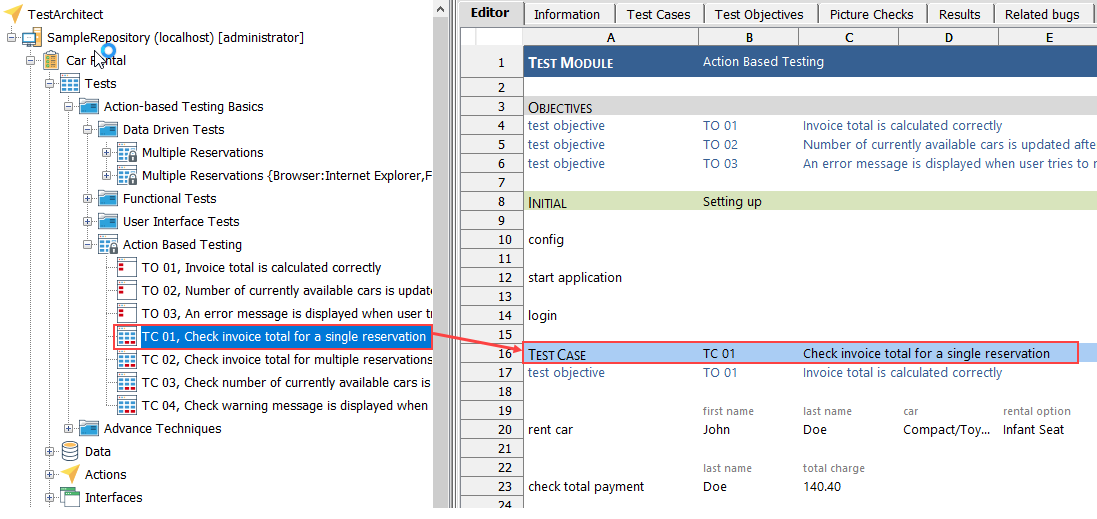
Once a test module is given test cases and is checked in, it becomes a subtree on TestArchitect explorer tree. The test module is expandable so that you may view the test cases as subnodes. Opening a test case’s node allows you to see three tabs:
- The Steps tab, which contains a step by step guide to the execution of the test case;
- The Information tab, which is similar to the information panels of other tree items;
- The Test Objectives tab, which lists all the test objectives of the test case.
Modifying or deleting test cases
You can delete a test case either through the TestArchitect explorer tree or the editor window:
- TestArchitect explorer tree:
- select the test case’s node, then press Delete on your keyboard; or
- right-click on the node, and select Delete from the context menu.
- Editor window: do one of the following:
- select any part of the test case header line, then press the Delete key; or
- right-click anywhere on the test case header, and select Test case > Delete Test Case
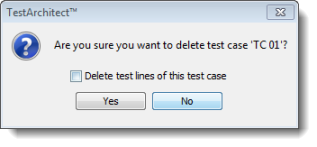
In all the above cases, the Delete Test Case dialog box appears, offering you two options. By default, it deletes the test case header line, causing the lines of the test case to be merged into the preceding test case. But if you select the check box Delete action lines of this test case, the entire test case is removed, action lines and all.
A test case may be modified in one of two ways. Under either option, you must have the parent test module checked out.
To change any field values of a test case, open it in TestArchitect explorer tree and use its Information tab:
- Double-click the test case node.
- Select the Information tab of the test case in the main panel.
- Edit ID, Title, Recent result, and/or Source fields; add any comments to the Notes field.
- Click Apply to update the changes to the repository or click Reset to undo them.
An alternative way to modify a test case is to right-click the cell containing the test case and select Test case > Edit Test Case (or type F2) in the context menu. The Information tab is presented.
Test steps
Test steps break up a test case into multiple smaller sections, which can be maintained in an easier manner.
Test objectives
Test objectives provide details of scope of the tests of a test module.
