User Guide
 Integration with third-party tools
 Team Foundation Server integration
 Setting up the integration environment for on-premises Team Foundation Server
 Installing and configuring Microsoft components for on-premises Team Foundation Server
 Automating a test case in Microsoft Test Manager
 Queuing a new build

The requested page is not available for selected version.
Queueing a new XAML build
After creating an XML build definition, the new build must be queued.
In Visual Studio, check in your solution on the TFS server.
In Solution Explorer, right-click your solution and then click Check In.
In the Check In dialog box, type an appropriate comment and then click Check In.
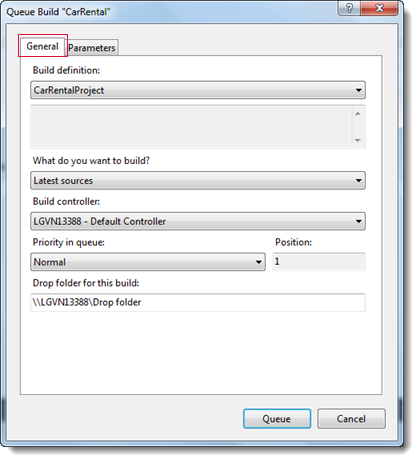
Queue the build by following Microsoft’s instructions. (Learn more.)
Notes:- Only configurations for the General tab are required. The others are optional.
- In the Queue Build <Project_name> dialog box, if needed, specify the build definition, the build controller, the priority of the build in the build queue and the output folder where the files and modules will reside after the build is over.

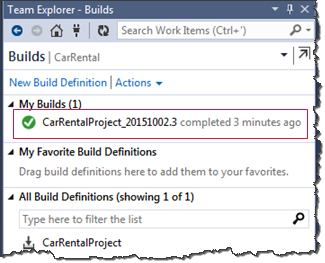
Upon conclusion, the build is queued and marked with a green check.
Notes:
The available statuses of the queued build process are mentioned as follows:
When integrated with TestArchitect, keep in mind the following:
Important:
This task is one that must often be repeated, especially when you have modified mapped TFS test cases. (For example, you remove or add test cases, or change the order of a test case run.) When you do so, the association between TFS test cases and Visual Studio test methods/TestArchitect test cases is compromised. Hence, it is necessary that you perform the following steps again: