Running automated tests on mobile devices using capabilities file
In order to select multiple mobile devices at launch time concurrently, you need to specify necessary desired capabilities in a file, which conforms to JSON format. You can use the capabilities file that you have exported at lesson #14 or that you have prepared beforehand and follow these steps:
- Click Execute
 on the toolbar to open the Execute Test dialog.
 - On the dialog, click on Select controllers and devices.
- Select the localhost controller then click on Add desired capabilities file.
- Browse the capabilities file that you have prepared (Learn more about how to export capabilities file).
- Uncheck the controller then check the newly added JSON file.
- Check the newly added JSON file.
- Click Ok on the Select Controller/Device dialog.
- Click Execute.
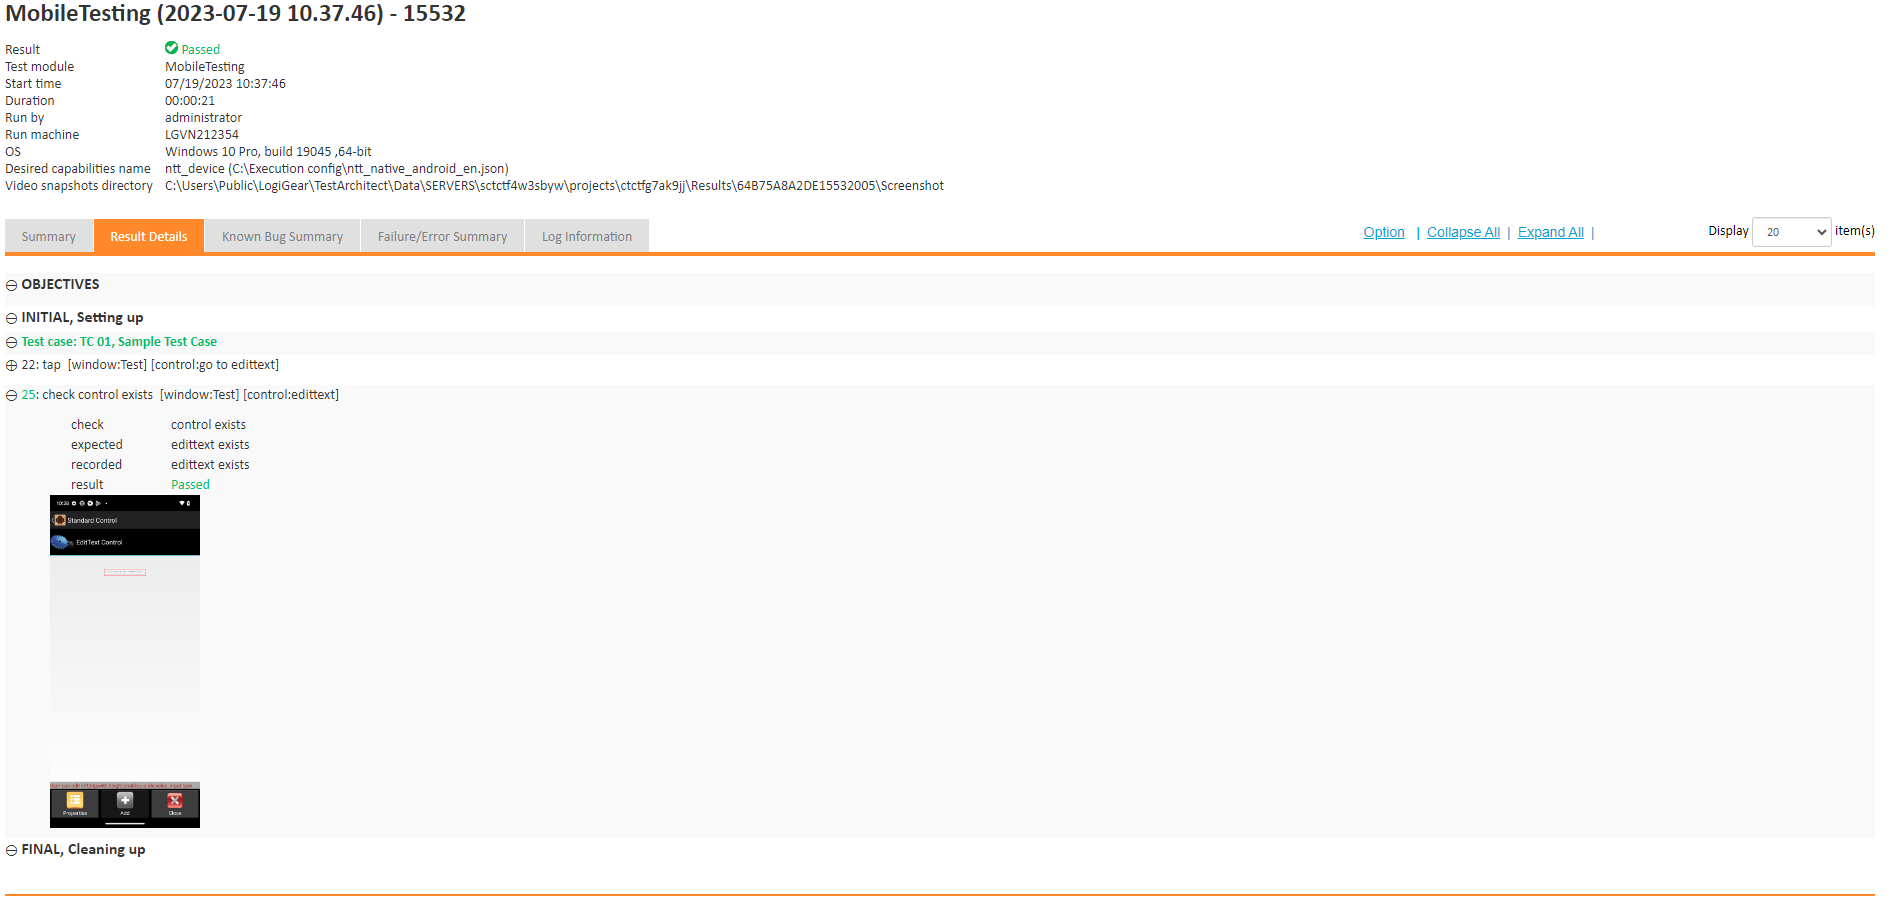
Once you have finished running your test, you can open the test result to review. TestArchitect also supports capturing screenshots during test execution and debugger mode for mobile testing.
Ensure that the number of rented mobile devices, which would run test concurrently, is available.
You can learn more about JSON syntax here.
The capabilities file can specify one or more devices as following format:
{
    "Pixel 5a (5G)": {
        "URL": "https://gwvn.remotetestkit.com/wd/hub",
        "userName": "your_username",
        "password": "your_password",
        "platformName": "Android",
        "deviceName": "Pixel 5a (5G)",
        "app": "sample_Android.apk",
        "appiumVersion": "1.22.3",
        "platformVersion": "13",
        "automationName": "UIAutomator2",
        "newCommandTimeout": 600
    },
    "iPhone 11 Pro": {
        "URL": "https://gwvn.remotetestkit.com/wd/hub",
        "userName": "your_username",
        "password": "your_password",
        "app": "sample_iOS.ipa",
        "deviceName": "iPhone 11 Pro",
        "appiumVersion": "2.0.0",
        "platformVersion": "16.2",
        "newCommandTimeout": 600,
        "platformName": "iOS"
    }
}
Related information
Running a test and viewing the results
Capturing screenshots during test execution


