Creating a test module
Create a simple test module that outputs the text string hello world.
Before proceeding: Start TestArchitect by going to Start > All Programs > TestArchitect > TestArchitect Client.
TestArchitect, in support of the Action Based Testing model, is built around test modules. Test modules are essentially worksheets containing sequential steps.
Double-click the SampleRepository node in the TestArchitect explorer tree to open the Log In dialog box.
The first time you log in to a new repository, you see
administratoras the User Name. For the purposes of this tutorial you can use this user name and leave the Password field empty.Click OK to log in.
Once logged in, the TestArchitect explorer tree for this repository can be expanded.
Expand the Car Rental project node in the TestArchitect explorer tree by clicking the + symbol next to the node.
In the TestArchitect explorer tree, select any item within the current project, then click Create new test module
 in the toolbar.
The New Test Module dialog box appears.
In the Name field, type
Hello World.Click Create.
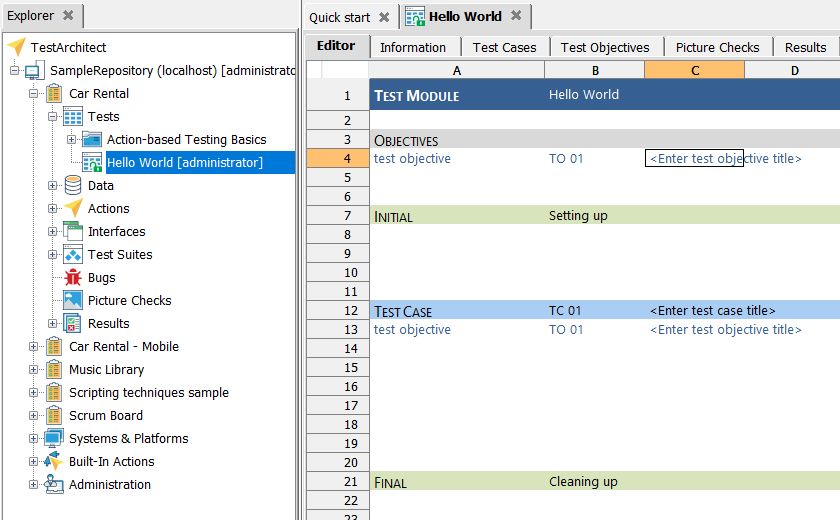
Your new test module appears as a node in the TestArchitect explorer tree. At the same time, a worksheet opens in the main panel. This is the TestArchitect test editor. The editor contains numbered rows and lettered columns. A black border around one of the cells, the
cell pointer, indicates the current position for text entry. Use your mouse or the keyboard’s arrow keys to move the cell pointer.
Also note that the test module template, as described in the topic The test module and template has been inserted into the editor. The template contains various test support actions (
test case, test objective,INITIAL, etc.) which are not executed at run time. These actions are both documentary, and serve as a means of partitioning the test module into parts that can be executed separately.A test module template is displayed in the editor.
test caseis on cell A14 (columnA, rowA14).This action will not be executed during runtime. It serves as a means of partitioning the test module into parts that can be executed separately.
Notice that as you type in the cell an autocomplete drop-down list box appears, showing available actions matching your text entry that are available for selection. As you highlight each action in the list, a description of that action appears below the list. If you misspell an action name, the entry appears in red text, alerting you to the fact that no such action has been defined.
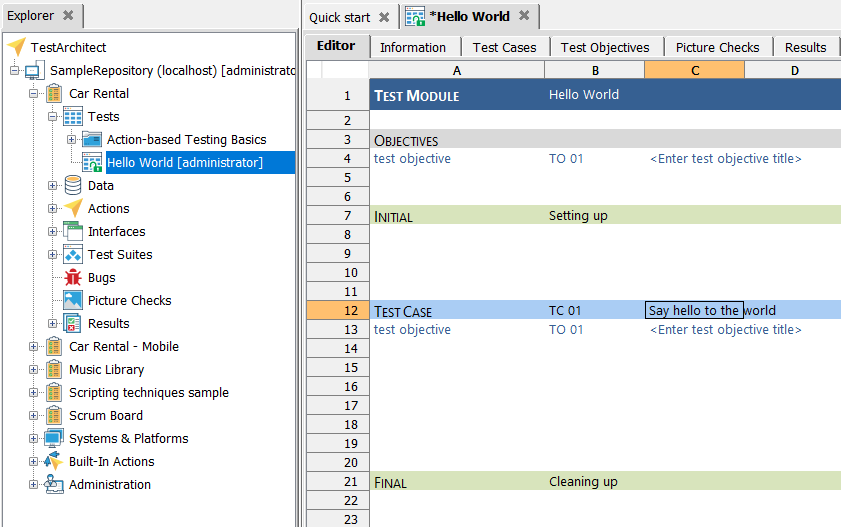
Notes:Upon entry of the string the row turns gray. This behavior is unique to the test case action. The editor does this for readability, so that the beginning of each test case in a test module is easily identifiable.TO01appears on cellsB4andB15as the ID for the first test objective.TC01appears on cell B14 as the ID for this test case.Select cell C14 (one cell to the right) and enter
Say hello to the worldas the short description for this test case.
Select cell C4 and type
Say helloas a short description for this test objective.Write your first executable action. Select cell
A18and typereport.Notes:As you type, autocomplete displays a drop-down list box of matching action names.In the autocomplete pop-up window, use the
UpandDownarrow keys to navigate toreportand pressEnter.Select cell B18 and type
hello world. PressEnter.During execution, the string
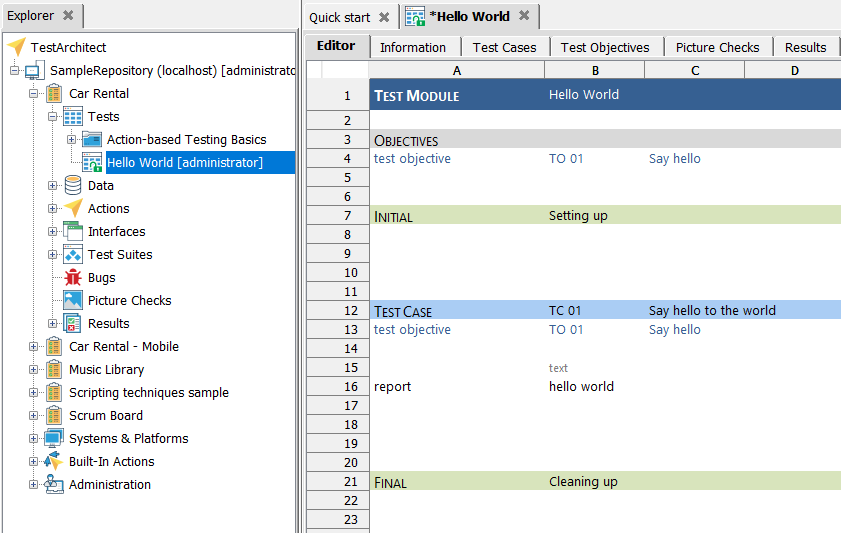
hello worldwill be passed to the report action as an argument value.Your screen should now resemble the image below. You have created your first test module, which consists of a single executable action and you are ready to run your first test.

Related concepts
Related tasks
Creating a test module
