TestArchitect Quick Install
The Quick Install option allows you to install TestArchitect and its components more quickly by bypassing the option to change the default installation settings.
To perform a quick installation of TestArchitect, follow these steps:
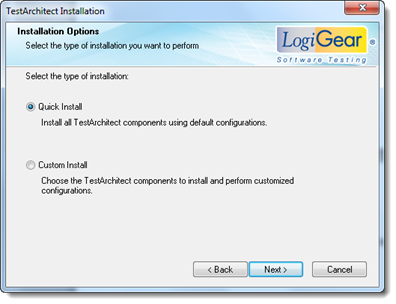
On the Installation Options dialog box, select the Quick Install option and click Next.

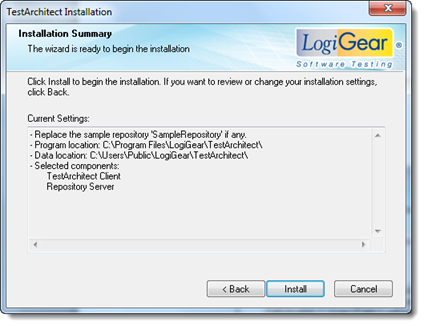
The Installation Summary dialog box appears.

The default installation settings are displayed in the Current Settings text box as follows:
- A new sample repository (SampleRepository) is to be installed. If an old one exists, it is replaced.
- The TestArchitect executable is to be installed in C:\Program Files\LogiGear\TestArchitect.
- TestArchitect’s data directory will be C:\Users\Public\LogiGear\TestArchitect.
- Both TestArchitect Client and Repository Server components will be installed. (Note that a local copy of TestArchitect Controller will also be installed.)
Click Install to begin the installation process.
A message box appears to display the tasks being performed, along with a progress bar presenting the installation’s degree of completion.
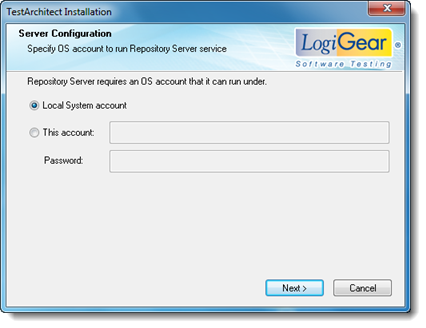
In the Server Configuration dialog box, you may choose between two types of accounts under which the repository server is to be started.

Local System Account: (Default) A predefined local account used by the service control manager. This account has privileges on the local computer, acts as the computer on the network, but might have limited network access rights (Learn more.)
This account: Specify a local user account, or a domain user account. Ensure that the account belongs to the administrator group of the given machine to allow the Repository Server service to start successfully.
注意:A local user account has the following name format: “.\username”). For example:

A domain user account has two possible name formats: the distinguished name of the user object in the directory, and the “<domain>\<username>”. For example:


Password: Type in the appropriate password for the account provided.
Click Next.
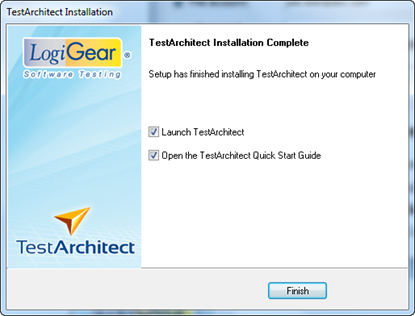
Upon completion, the TestArchitect Installation Complete dialog box appears.

Using the check boxes of this dialog box, you may opt to launch TestArchitect immediately and/or open the TestArchitect Quick Start Guide.
Click Finish.
TestArchitect setup is complete.
