Installing TestArchitect on Linux
How to install TestArchitect on a Linux system.
Contact LogiGear Sales to obtain the correct TestArchitect installation file for your system.
- If this is an upgrade, it is strongly recommended that you back up any existing repositories you may have prior to upgrading to this version of TestArchitect.
- It is recommended that you install TestArchitect from the root user access account.
Once you have the installation file on your system, change its permissions to make it executable.
Right-click the installation file, and select Properties from the context menu.
On the Properties dialog box, select the Permissions tab.
Select the Allow executing file as program check box.
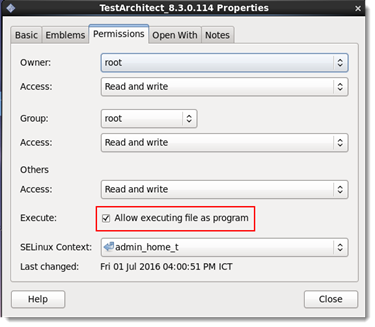
Close the Properties dialog box.
Double-click the installation file to start the installation process.
TestArchitect Setup begins. A confirmation message appears to ask whether you want to continue the installation process:
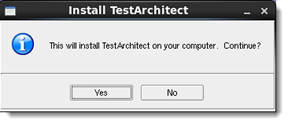
Click Yes.
The Welcome dialog box appears.
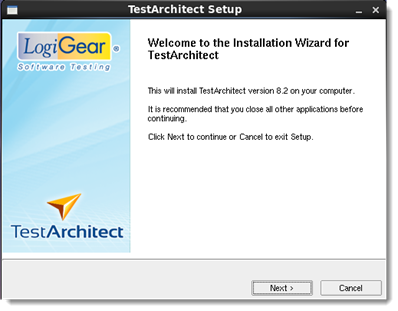
Click Next to proceed.
A dialog box displaying the TestArchitect software license agreement appears.
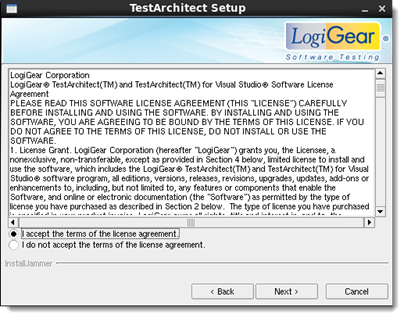
Please read through the license agreement and then select the radio button labelled I accept the terms of the license agreement. Then click Next .
Optional: Click the Browse button to choose the location for the TestArchitect executable. Alternatively, just accept the indicated default location.
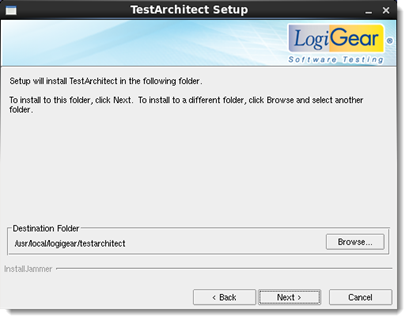
Click Next to proceed.
Optional: Click the Browse button to select the location where TestArchitect will store its data files. Alternatively, just accept the indicated default location.
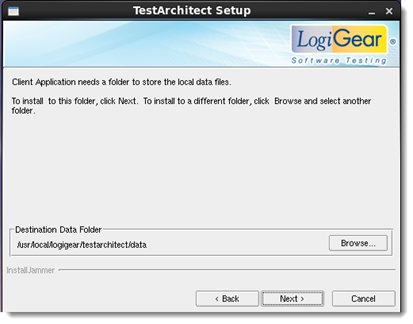
Click Next to proceed.
A message box appears to display the tasks being performed, along with a progress bar presenting the installation’s degree of completion. Upon completion, the Installation Wizard Complete dialog box appears.
Click Finish.
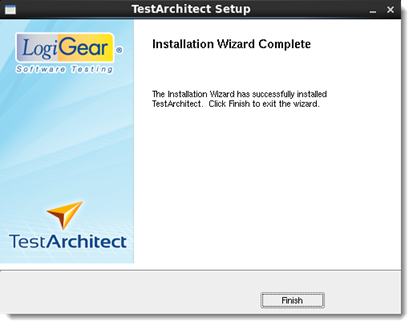
TestArchitect setup is complete.
