Using interface definitions
Write and execute a test that makes use of the interface definitions you have created.
Before proceeding: Ensure that you have created the interface entity my login as described in the preceding lesson.
In this exercise you will write a simple test case that uses your interface definitions for the Login window to enter text into the User name and Password fields. To do this you will create the following:
- A
test caseaction line with descriptive information. - A
use interfaceaction that directs TestArchitect to use interface namedCar Rental. - An
enteraction, to enter text into the User name field. This action needs to be provided a window, , a control residing in that window, and the text to be entered into that control. Hence, you will specify:- The Car Rental-Login window. You do this by assigning the TA name my login – the name of the interface entity you created earlier - to the action’s window argument.
- The User name text box. You do this by assigning TA name my user name – defined in one of your interface element actions – to the action’s control argument.
- The text to be entered into the User name field.
- Another
enteraction to supply the password. In a similar manner as before, you will specify TA names for the window (same window) and the Password field, as well as text (the password).
In the TestArchitect explorer tree, select any item within the current project, then click Create new test module
 in the toolbar.
The New Test Module dialog box appears.
In the Name field, type
My login testand click Create.- 注意:The new test module appears in the editor with a default template containing suggested basic components for a well-designed test. For this lesson, you only need the
TEST CASEsection.In the editor, delete all content except for the
TEST CASEline. Optionally, you can also delete any blank lines above theTEST CASEline.You are now ready to begin writing your action lines.
Enter the actions and arguments as described above:

Run your test against the Car Rental’s Login window:
If you have not already done so, start the Car Rental application by selecting Start > All Programs > TestArchitect > Samples > Car Rental Application.
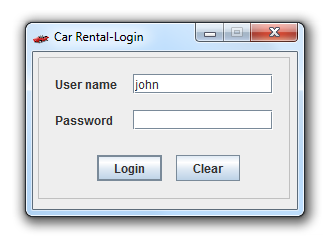
The login window appears.

Click Clear.
This clears the text fields so that you can better see the effect of your test’s actions.
With your test module displayed in the TestArchitect editor, click Execute
 on the toolbar.
The Execute Test dialog box appears.
Click Execute.
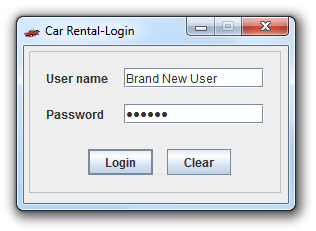
The status bar indicates the stages of the test as it progresses. Upon test completion, the newly generated results page is displayed showing that the test case passed (only because no actual test was performed), and the login screen of the Car Rental application displays the text entered by your test:

Related concepts
Related tasks
Capturing interface definitions
