HTML5 Capture - Example # 1
An example showing how the Element Identification dialog box can be used to capture HTML5 tags (controls).
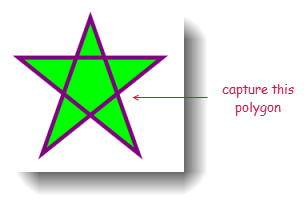
The Element Identification dialog box can capture HTML5 controls. The following example shows how to capture an SVG tag (control) in an AUT using the Element Identification dialog:
Create an interface. (see Creating an interface.)
The new interface is added to the project under the Interfaces node.
Create an interface entity. (see Creating interface entities.)
A new interface entity worksheet opens in the test editor, ready for your input.
Click the Identify button
 on the toolbar.
The Interface Viewer is minimized and goes into Identify mode. Your cursor changes into a pointing-hand icon.
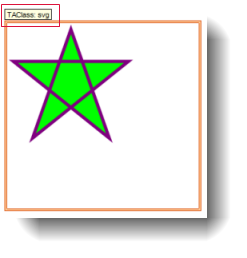
Navigate to the polygon on the AUT. As you pass your cursor over the polygon, an orange, rectangular frame appears around the polygon, along with a screentip indicating the TA class of the text box, TAClass: SVG.

Click into the polygon on the AUT.
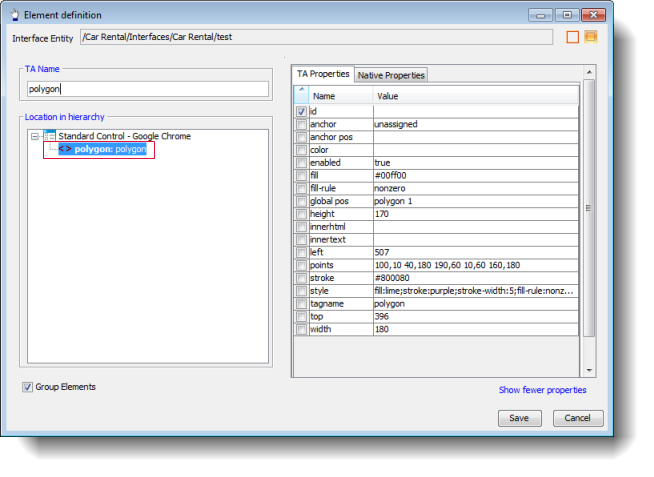
The Element definition dialog box appears, displaying the graphic’s Location in the Hierarchy mode of the UI explorer, and a Properties panel. This explorer offers a hierarchical view of a single branch segment that runs from the root to the selected control, in this case the text box called polygon.

Click Save.
A new interface element for polygon control is now included in the interface entity.
LogiGear Corporation
![]() Tel:
+1 (650) 572-1400
Tel:
+1 (650) 572-1400
![]() Email:
sales@logigear.com
Email:
sales@logigear.com
