Creating a data profile
The report profiles defined in TestArchitect Client can be used as data profiles for Dashboard panels, and vice versa.
To create a data profile on a Dashboard page:
Launch an instance of the Dashboard and log in to the session as a user with permission higher than that of the guest user.
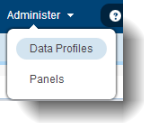
On the Dashboard’s administrative bar, point to Administer and select Data Profiles.
Select Add New (upper-left side of the data profile table).
On the General Settings page, enter the basic information specifying the name of the data profile, and its data source(s), then click Next:
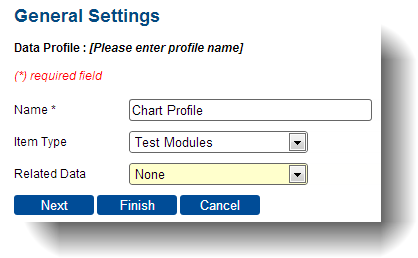
- Name: Name to be assigned to the data profile.
- Item Type: Select a project item from which to create the data profile. This item type determines which fields are selectable on the Statistic Field page (step #8).
- Related Data: Optionally select a sub-field related to the project item. If you select an entity for this field, you will be asked to specify additional sub-fields from steps #9 through #12.
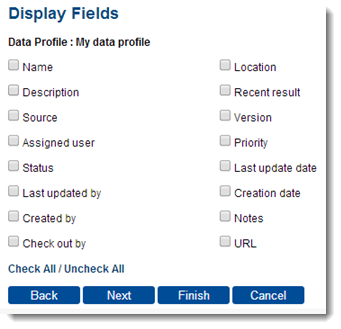
Tip:Click Finish if you do not want to proceed with selecting additional filtering criteria.On the Display Fields page, select those fields you want displayed by whatever panel uses the data profile, then click Next.
On the Sort Fields page, you may opt to select a Field to sort on. To add further sort fields, click Add Level. Repeat as necessary. Each successive field selected is subordinate to the previous one during sorting. Click Next when you are done with selecting sort fields.
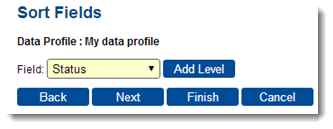
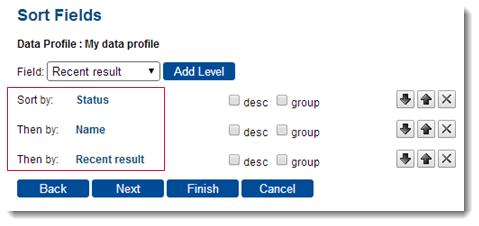 Tip:Click the
 or
or  to change the field sorting priority order. Click
  to remove a field from the sorting list.
On the Filter Fields page, create logical expression(s) to filter data, if you so opt. More than one expression may be created as necessary. Click Next when you are done with creating the filter fields.
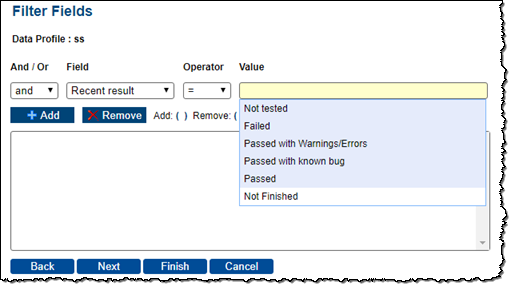
- And/Or: Logical operator for combining more than one filtering expression.
- Field: First operand in the logical expression.
- Operator: Comparison operator.
- Value: Second operand in the logical expression.
- Add: Add the user-defined logical expression to the filter list.
- Remove: Remove the highlighted logical expression from the filter list.
- Add: ( ): Add parentheses to the highlighted logical expression to override the default order of precedence.
- Remove: ( ): Remove parentheses from the highlighted logical expression.
On the Statistic Fields page, select the fields that you want to include in the statistics generated by any panel using the data profile. Each value for the selected field will be counted in the data profile. Click Next when you are done selecting the statistic fields.
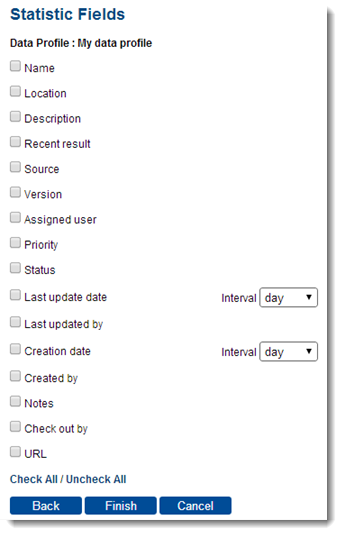 Note:The list of selectable statistic fields varies depending on the Item Type specified on the General Settings page (step #4).
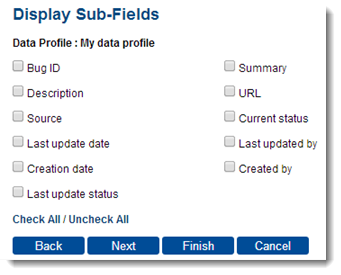
On the Display Sub-Fields page, select the fields that you want to assign as display sub-fields. Click Next when you are done selecting the display sub-fields.
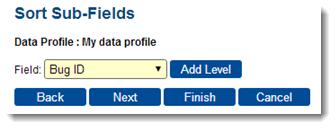
On the Sort Sub-Fields page, select the Subfield to sort on, if any, and click Add Level. To add additional subfields to sort on, select the sort field then click Add Level. Repeat as necessary. For more details on sorting fields, see step #6. Click Next when you are done with selecting the sort subfields.
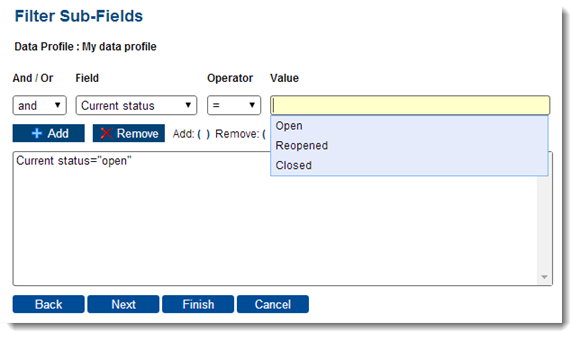
On the Filter Sub-Fields page, you can create logical expressions to filter data on, using the subfields. More than one expression can be created as necessary. For more details on creating filtering expressions, see step #7. Click Next when you are done with creating the subfields filters.
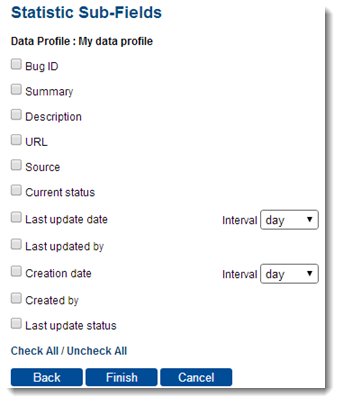
On the Statistic Sub-Fields page, select the subfields that you want to include in the data profile’s subfield statistics. Each value for the selected field will be counted in the data profile. Click Finish when you are done selecting the statistic subfields.
The created data profile is saved in the repository and is available for use in the Dashboard for creating display panels, and also in TestArchitect for reporting.
Related tasks